REREADING KEYS TO DRAWING BY BERT DODSON – WEEK TWO
Week two of rereading Keys to Drawing by Bert Dodson has come to an end, and on the menu this week were chapters three and four; Proportions, and The Illusion of light. Like last week, so many topics were discussed that it would be impossible to cover them all here, but here’s some of my main highlights … or shadows :)
Let’s start with this weeks drawing exercises, which included drawing my face in the mirror, mapping out areas of light and shadows, drawing the same scene in different lighting conditions and a lot of measuring :)
ALIGNMENT EXERCISE
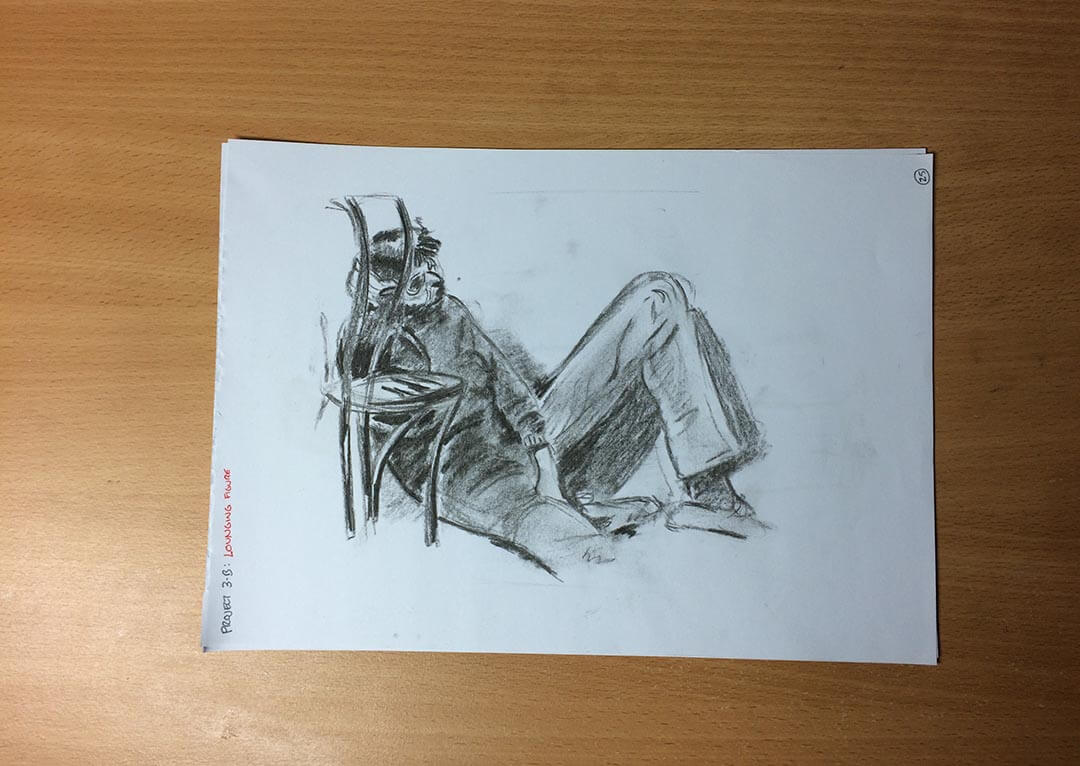
The alignment exercise has you drawing a figure in a lounging pose, with the focus on checking your measurements while drawing. I enjoyed this one, partly because I decided to use charcoal for a change, but also because it made me appreciate the importance of measuring when drawing awkward poses. This exercise made me realise I don’t take enough measurements. Naughty Sophie!
MAPPING EXERCISE
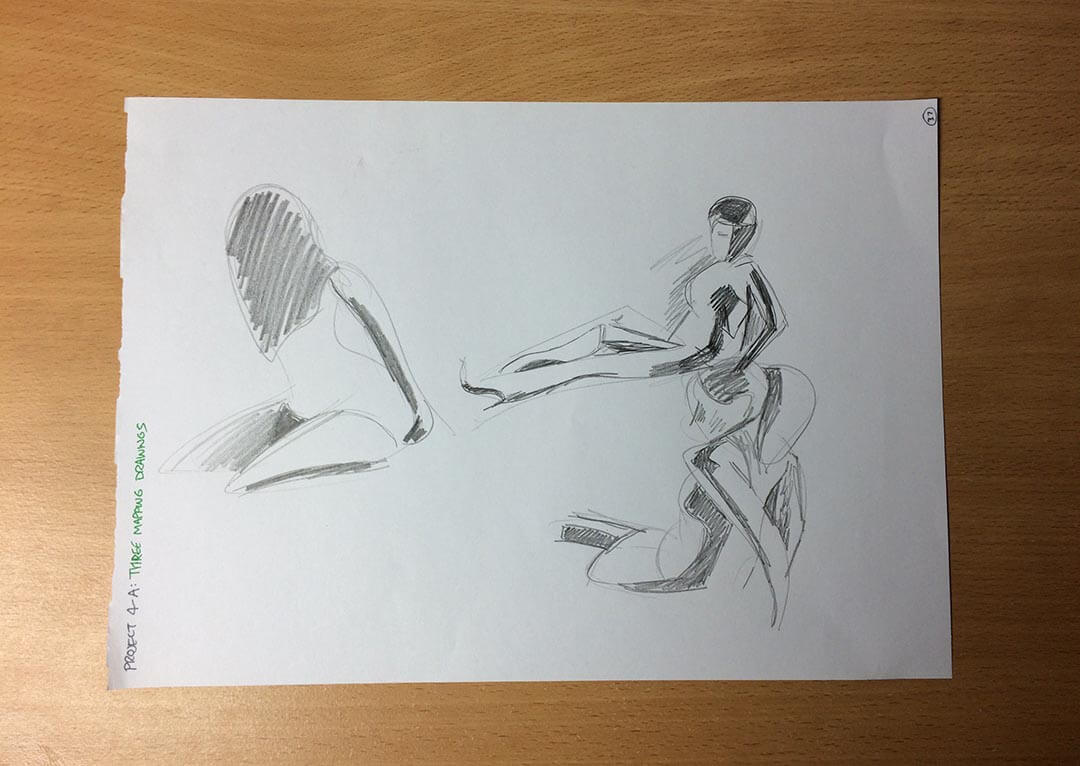
The mapping exercise was a simple one, but again, very useful and fun. You have to find three poses of figures in strong lighting, with the goal being to map out the light and shadow shapes. I realised I do mapping a lot of the time naturally, but never to the extent of this exercise, where you actually had to make them full on shapes. I like how you can make out what the figures are doing, just from these simple shapes.
“IT HELPS A GREAT DEAL TO KNOW THAT LIGHT AND SHADOW BEHAVE IN A LOGICAL AND CONSISTENT PATTERN.”
– Bert Dodson
The proportions chapter is based heavily around ‘Sighting’, and more specifically, Bert’s ‘Three Sighting Strategies’. Sighting is where you take your pencil, pen or paintbrush, and use it as a tool to measure the subject in front of you while drawing from life. You can view how sighting works below, via one of Proko’s videos on Youtube
THREE SIGHTING STRATEGIES
1. Finding the midpoint
Think of your subject as a shape which you divide at the midpoint. That half above the midpoint must fit into the top 50% of your drawing area and the half below must fit into the lower 50%. Studiously finding and using the midpoint in this way ensures that each half of whatever you divide will be in proportion to the other.
2. Using Plump and level
Using your pencil like a carpenter’s tool, you can establish the vertical and horizontal alignments of your subject and transfer them one at a time to your paper. This strategy is especially useful in establishing the action of your pose.
3. Taking comparative measurements
In this strategy you measure with your pencil the length of one part of your subject and compare it to the length of another part. The head is a commonly-used unit of measure, for instance, and might be compared to upper arm length or to shoulder width. This procedure is basic to finding proper proportions.
“OUR LARGER GOAL SHOULD BE TO DRAW IN A WAY THAT EXPRESSES OUR VISION.”
– Bert Dodson
Rereading about these sighting strategies has been odd. It’s made me aware of when I’m doing it, which is both good and bad. Good, because I realise I’m doing it without thinking about it a lot of the time, but bad, because I’m finding being self aware of it slightly distracting. I need to measure more though, I use plump and level a lot as I can do that by eye, but I need to do more comparative measuring, especially at life drawing class. I ended up asked myself why.
Why do I not measure at life drawing class when I know I should?
The answer … FEAR! It goes back to my social anxiety, I’m too self conscious to stick my hand out and measure the subject, because I think people will look at me, or think, what’s she doing. This is a silly way to think, because I’ve seen other people doing it at life drawing class and I didn’t think nothing of it. This is now a challenge, just holding my arm out at life drawing class may seem totally insignificant, but for me it’s a fear. The first step to overcoming a fear is self awareness. So at the next life drawing class, my mission is to take some sighting measurements. I’ll let you know how I get on next week, we artists have to be fearless!
I also want to start guessing the midpoint again, I was doing this for months and months in my sketchbook and than at some point I felt like I didn’t need to anymore, so I stopped. If nothing else it’s fun to do, just to see how wrong / right your guess is, plus it only takes about 10 seconds. A lot of the time at life drawing class, the figure is in a foreshortened pose, and finding the midpoint for a foreshortened pose is, as Bert says, “almost never where you would guess it to be”. So this should also be of benefit at life drawing.
I struggle making certain things habits, some things I’ve made habits seemingly overnight, like drawing upside down, but other things I’ve never managed to make them part of my process yet. Like trigger words, asking where is the light source and studying the subject first before diving into the drawing … these things I would also like to make a habit, but they’ve so far eluded me. So, how am I going to attempt to make these habits? I have a plan, on each new page of my sketchbooks I will list at the top, in very light writing: trigger words, study before drawing and where is the light source. Hopefully this’ll make me do them when starting a new drawing and make them habits, in fact … I just stopped writing this to go do it now :) Hopefully it will work!
“SCIENTISTS AND PHILOSIPHERS MAY STRIVE TO DISPEL ILLUSIONS, BUT ARTISTS STRIVE TO CREATE AND SUSTAIN THEM. THAT IS OUR JOB.”
– Bert Dodson
The main tip I learnt from Bert this week, was how PROPER USE OF ALIGNMENTS WILL CAPTURE THE ACTION OF A POSE. This quote seemed to click with me and I intend to start being more aware of this while gesture drawing, where it’s all about capturing the action of the pose. This self awareness of the alignments should go hand in hand with studying the subject before diving into the drawing, meaning I can study the alignments before, as well as while, drawing.
Another thing I realised this week was that I need to measure more before committing to dark tones. I sketch the overall shapes very loosely first, but than instead of measuring, I’ll dive right in and start applying my dark tones. Sometimes I’ll get away with it, but if my measurements are off, I won’t find out until later that I need to move this arm over a bit and by than the tone is too dark. Making it much harder and more time consuming to correct, whereas if I had just stopped and measured things for a minute, I could have saved a lot of hassle.
So it’s been a week of realising that I need to pay more attention, especially to my measuring, and especially at life drawing class. Bert also said something really helpful about going darker with your tones. I remember for about a year and a half I struggled going darker. I still do to some extent, but Bert said about using TRIGGER WORDS. So I thought, what if I repeat the words ‘DARK‘ or ‘BLACK‘ when trying to do dark tones? It may help make them darker. It’s worth a try :)
Next up is The Illusion of depth, which if I remember correctly, is looking at things like linear perspective. Should be fun :) If you have any tips on how to make things a habit, or if you can relate to anything in this post, let me know, you can contact me here or leave a comment below. See you next week!
MORE FROM MY REREADING OF THIS BOOK
INTRODUCTION
In January 2016 I reread Keys to Drawing by Bert Dodson over a four week period. Each week I covered two chapters of the book: taking notes, completing the drawing exercises and writing about my experience.
You can find these detailed writings in this five part mini series, which starts with this introduction
WEEK ONE • Covering
chapter 1 (The Drawing Process)
chapter 2 (The Artist’s Handwriting)
Including
Bert’s four rules of shape:
1. Draw Large Shapes First
2. Look for Enrichment Shapes
3. Tie Shapes Together
4. When you see a Trapped Shape, Draw it
WEEK TWO • Covering
chapter 3 (Proportions: Taking the Measure of Things)
chapter 4 (The Illusion of Light)
Including
Bert’s discussion on three Sighting Strategies:
1. Finding the Midpoint
2. Using Plump and Level
3. Taking Comparative Measurements
WEEK THREE • Covering
chapter 5 (The Illusion of Depth)
chapter 6 (The Illusion of Texture)
Including
four depth principles:
1. Overlapping Shapes
2. Diminishing Sizes
3. Converging Parallel Lines
4. Softening Edges and Contrast
THE FINAL WEEK • Covering
chapter 7 (Pattern and Design)
chapter 8 (Drawing and Imagination)
Including
Bert’s discussion on what makes a good Composition;
Balance and Paradoxes